
There are few makeup techniques as iconic as winged eyeliner. It’s a classic look that can define your eyes, elongate their shape, and add a touch of glamour to any style. Yet, for many, learning how to do winged eyeliner can feel like an impossible challenge. Getting the angle right, making both sides even, and achieving that perfectly sharp tip can be frustrating. But don’t give up! With the right tools, a bit of practice, and a few clever tricks, winged eyeliner for beginners is totally achievable. This guide will break down the process and share an easy winged liner hack to help you nail the look.
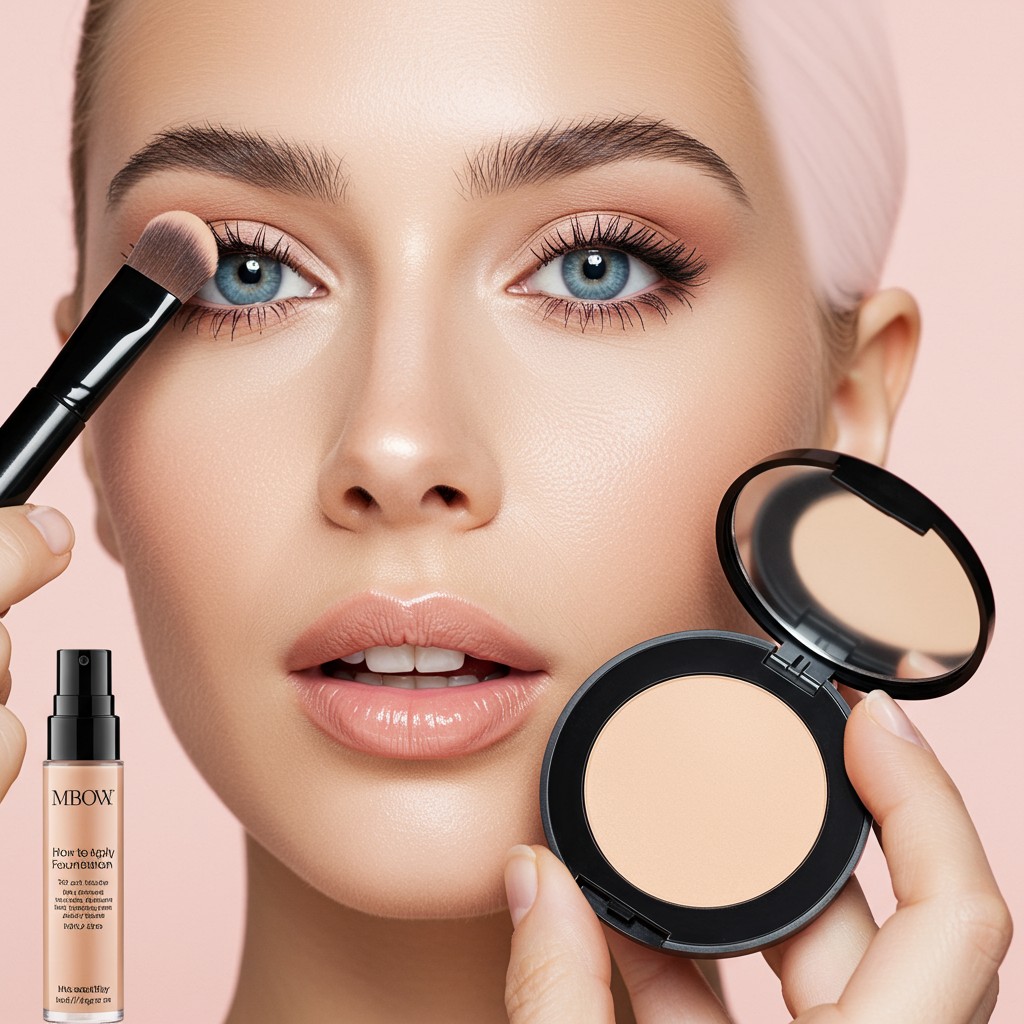
First things first, let’s talk about the product. The type of eyeliner you choose can make a huge difference in your application success. While there are pencil, gel, and liquid options, the best liquid eyeliner for creating a sharp wing is often a felt-tip pen. These pens offer great control, deposit a rich, consistent line of color, and have a fine point that’s perfect for creating that precise flick. Gel eyeliners applied with an angled brush are another great option, offering smooth application, but they can have a slightly steeper learning curve. For absolute beginners, a liquid pen is usually the most user-friendly choice.
The anatomy of a perfect wing
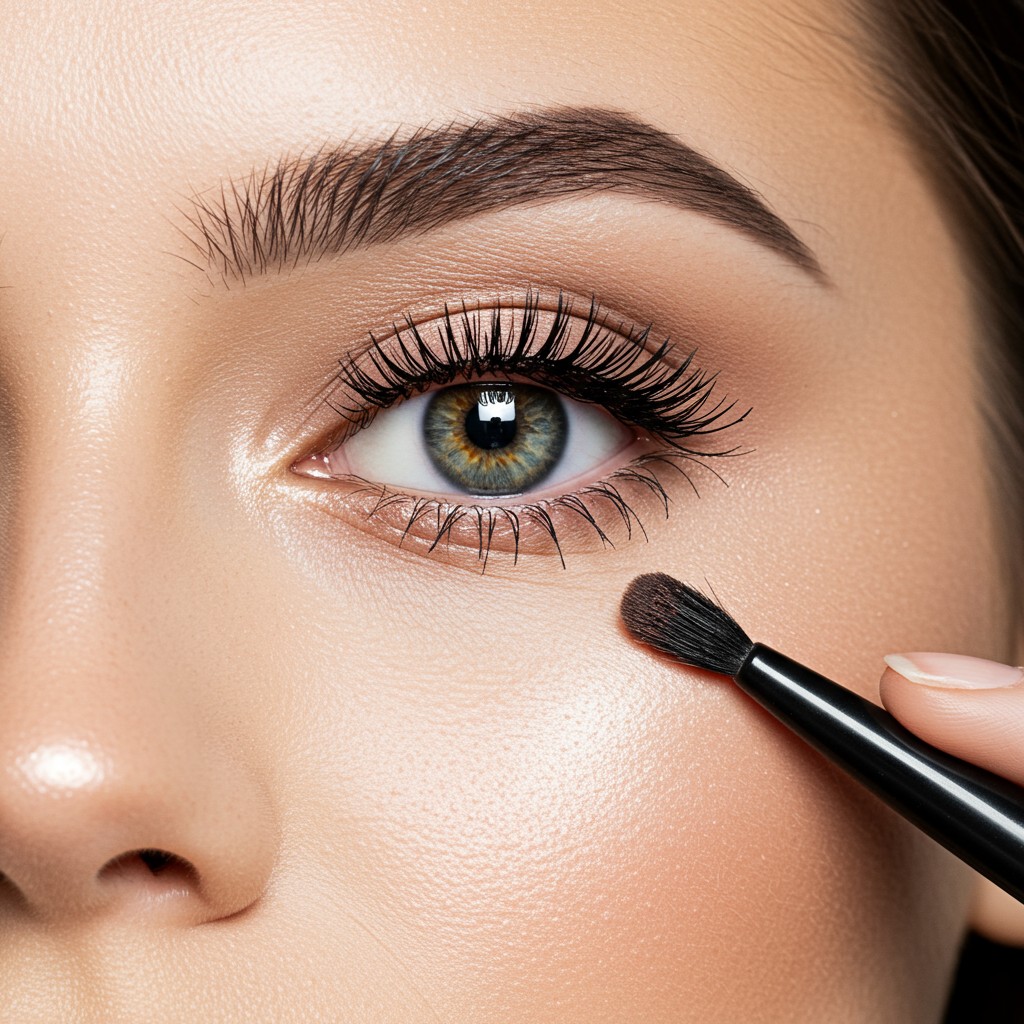
Before you draw, it helps to understand the two main components of a winged liner. There’s the line along your upper lash line, and then there’s the ‘flick’ or ‘wing’ at the outer corner. The trick is to create these two parts separately and then connect them. Trying to draw the entire thing in one single, sweeping motion is a common mistake that often leads to wobbly lines. Breaking it down into smaller, more manageable steps makes the process far less daunting and gives you much more control over the final result.
To find the perfect angle for your wing, imagine a line extending from your lower lash line up towards the tail of your eyebrow. This is the natural angle that will be most flattering for your eye shape. You can even hold a brush handle or a piece of tape along this line as a visual guide before you start. This ensures the wing lifts your eye instead of dragging it down.
A simple step-by-step winged liner hack
Ready to try it for yourself? Let’s get those wings even and sharp. For this technique, it helps to sit down and rest your elbow on a stable surface to steady your hand.
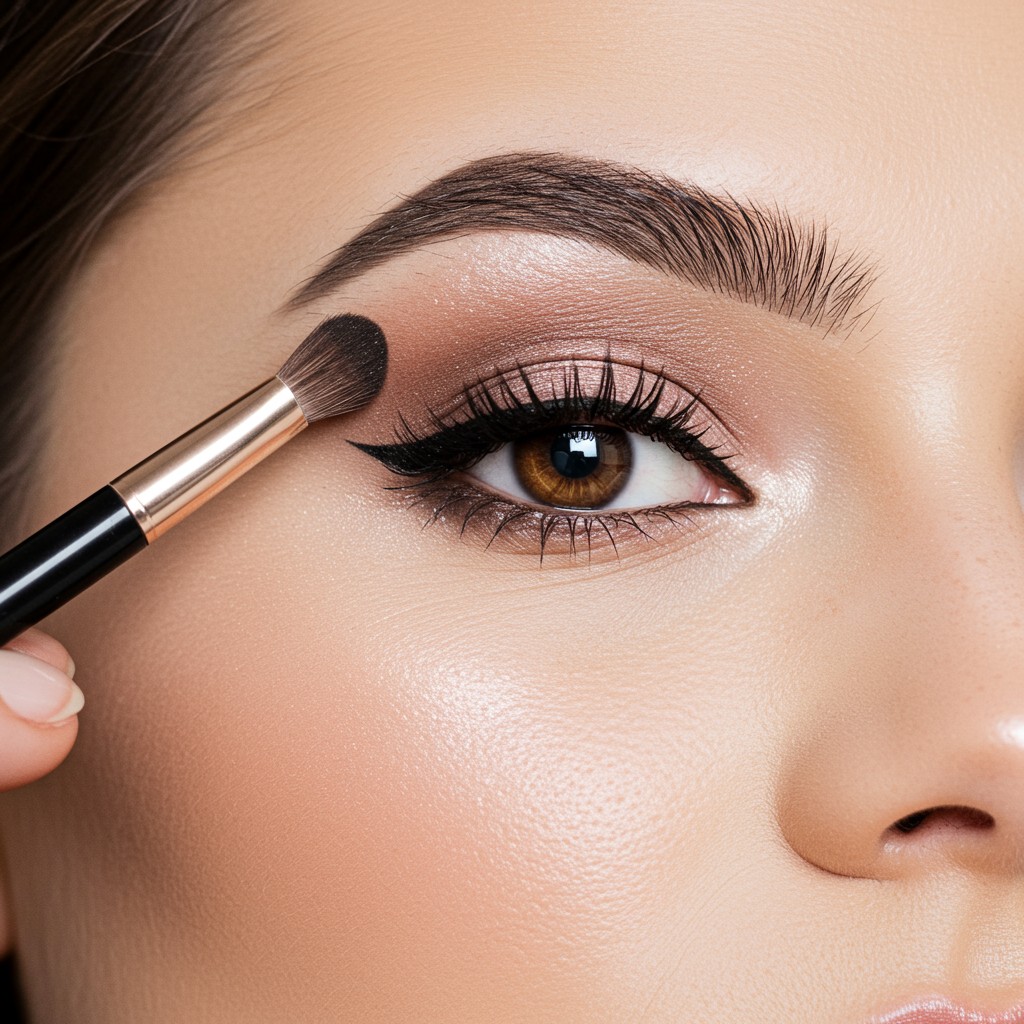
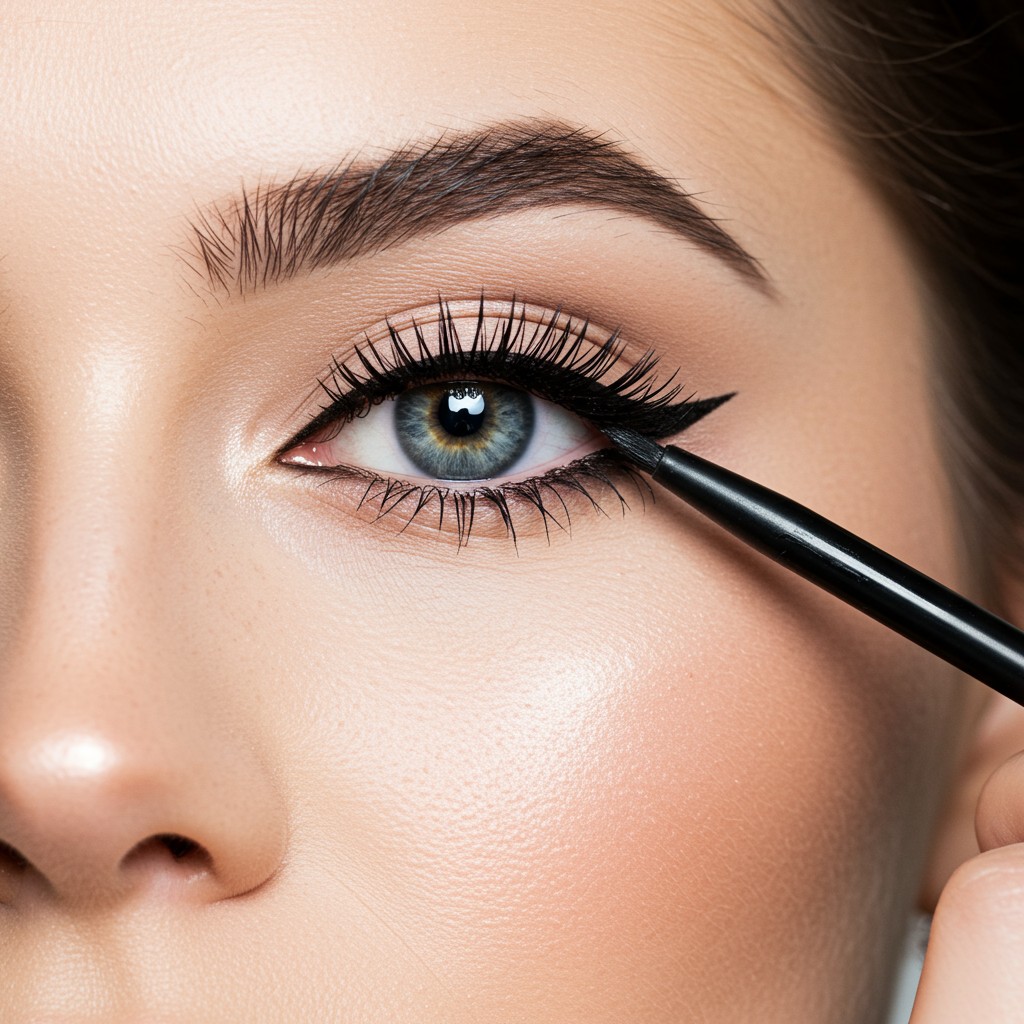
- Step 1: Draw the Flick. Looking straight into the mirror, place the tip of your eyeliner pen at the outer corner of your eye. Draw a short diagonal line angled up towards your temple, following that imaginary line from your lower lash line. This is the bottom of your wing.
- Step 2: Create the Triangle. Now, place the tip of the liner at the end of that first line. Draw a second line back towards the middle of your upper lash line, connecting them to form a small, empty triangle.
- Step 3: Fill It In. Carefully fill in the triangle with your eyeliner. You now have a completed wing!
- Step 4: Line the Rest of Your Eye. Starting from the inner corner of your eye, draw a thin line along your upper lash line, connecting it smoothly to the wing you just created. Try to keep this line as close to your lashes as possible.
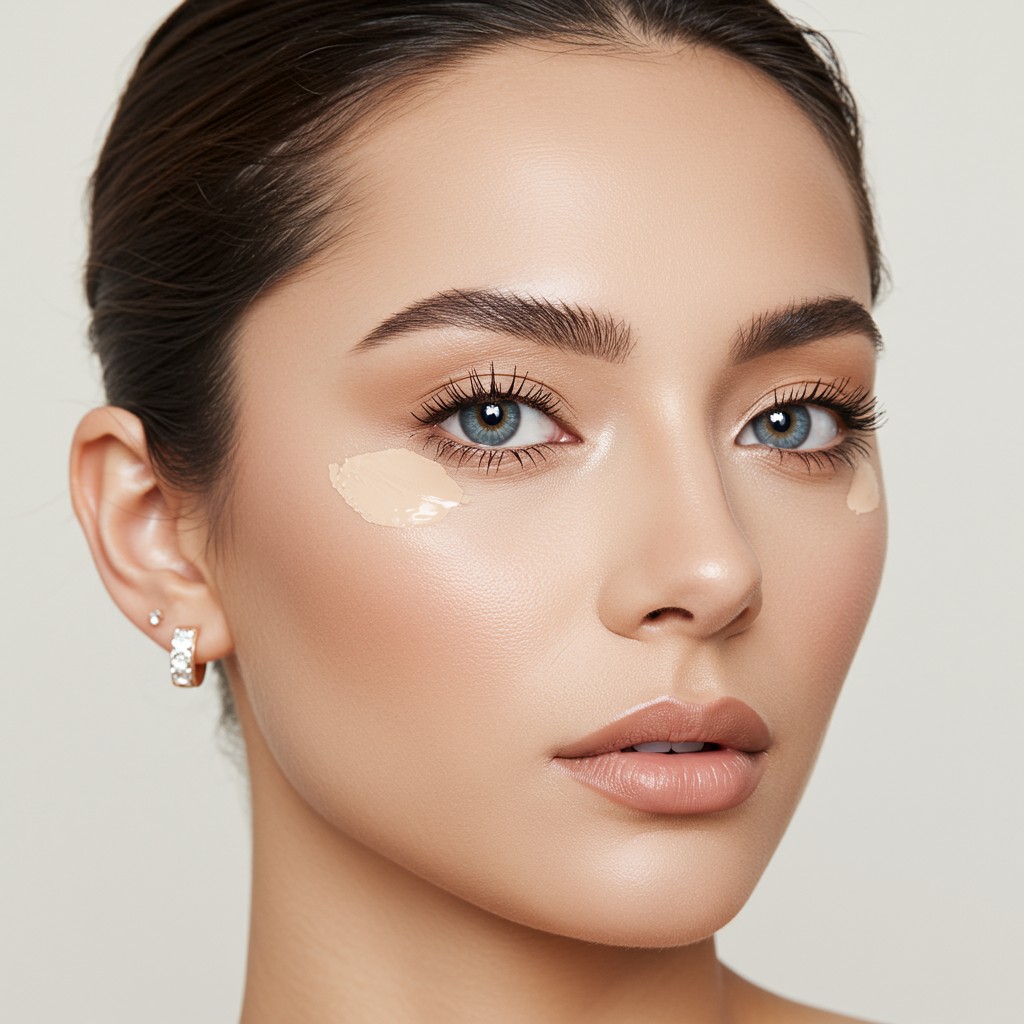
If you make a mistake, don’t worry. Simply dip a small, flat brush or a cotton swab in some makeup remover and use it to sharpen the edge of your wing for a crisp finish. Patience and practice are key. Soon, this technique will become second nature. At ScentSphere, we believe everyone can master this look, and you can find the very best liquid eyeliner in our shop to get you started.
What is the easiest type of eyeliner to use for wings pencil liquid gel
A liquid eyeliner pen offers the most control and precision for sharp wings. A felt tip is especially great for beginners.
Is there a simple trick or hack to get both wings even
Yes use a small piece of tape or a business card angled from the outer corner of your eye toward your temple as a stencil for a perfect line.
How can I adapt a winged liner for hooded eyes
For hooded eyes create a thinner wing and draw it more outwards than upwards. Apply it while looking straight ahead to see its final shape.